How to Compress Images Without Losing Quality
The real reasons image files get big, the difference between lossy and lossless, and the best free ways to shrink JPGs and PNGs on Mac, Windows, and in your browser.

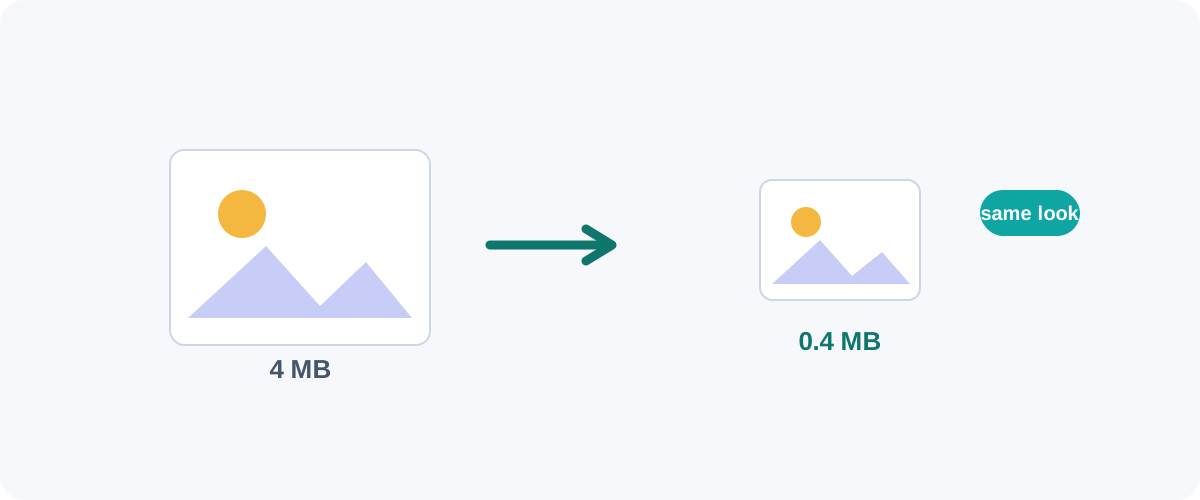
Big image files slow down websites, fill up storage, and bounce off email limits. The encouraging part: most images are far larger than they need to be, and you can shrink them dramatically with almost no visible change — for free. Here’s how compression really works and the tools I reach for.
Lossy vs lossless (the only theory you need)
- Lossless compression rewrites the file more efficiently without changing a single pixel. PNG optimization and WebP-lossless do this. Savings are real but modest (often 10–30%).
- Lossy compression throws away detail your eyes barely register. JPEG and WebP do this, and the savings are huge (often 70–90%). At a sensible quality level, you genuinely can’t tell.
For photographs, lossy is the right tool. For logos, screenshots, and graphics with text, lossless keeps edges crisp.
The biggest win is resizing, not the quality slider
A phone photo can be 4000+ pixels wide. If it’ll be shown at 1600px, those extra pixels are pure weight. Resize to the dimensions you’ll actually use first, then compress — that order does most of the work. See how to resize images.
Method 1: Squoosh (free, runs in your browser)
Squoosh is a free tool from Google that compresses images entirely on your device — nothing is uploaded. I use it constantly:
- Open it and drop an image in.
- Pick an output format (MozJPEG or WebP for photos).
- Drag the quality slider and watch the live side-by-side preview and file size.
- Stop when the preview still looks perfect — usually around 75–85% — and download.
The live preview is what makes it great: you compress by eye, so you never overdo it.
Method 2: On a Mac (Preview, offline)
For a quick offline shrink:
- Open the image in Preview.
- File → Export.
- Choose JPEG and drag the Quality slider down while watching the estimated size.
- Save.
For batches, the free ImageOptim app strips hidden metadata and re-compresses a whole folder of images by drag-and-drop, losslessly by default.
Method 3: On Windows
The built-in Photos app can resize (which is most of the saving), and Paint can re-save a photo as a JPEG. For better control and batch work, free tools like IrfanView or the same browser-based Squoosh do an excellent job without installing much.
Method 4: Command line (batch + scriptable)
For repeatable jobs, these free tools are superb:
# JPEG: optimize in place, target quality 82
jpegoptim --max=82 *.jpg

# PNG: strong lossy palette reduction (still looks great)
pngquant --quality=65-85 image.png

# Convert to WebP at quality 80
cwebp -q 80 input.png -o output.webp
pngquant in particular is almost magic on screenshots and graphics — big size cuts with no visible change.
Private photos
Family photos, document scans, anything personal — keep them off random upload sites. Squoosh (in-browser), Preview, or ImageOptim all process locally.
A reliable recipe
- Resize to the dimensions you’ll actually display.
- Choose the right format — JPEG/WebP for photos, PNG/WebP for graphics.
- Compress to ~80% quality (lossy) and check by eye.
Follow that and a 5 MB photo routinely becomes a sharp 300 KB file. If you’re optimizing images specifically to speed up a website, we go further in reduce image size to speed up your site.
Frequently asked questions
Can I really compress an image without losing any quality?
It depends what you mean. True lossless compression (like PNG optimization or WebP lossless) shrinks the file with zero pixel changes, but the savings are modest. Lossy compression (JPEG or WebP) discards detail your eye barely notices and saves far more. For photos, a high-quality lossy setting around 75–85% is visually indistinguishable from the original while being a fraction of the size.
What makes the biggest difference to image file size?
The pixel dimensions. A photo straight from a phone might be 4000 pixels wide — far more than a website or document ever shows. Resizing it down to the size it's actually displayed at (say 1600px) often cuts the file more than any compression slider. Resize first, then compress.
Should I use JPEG, PNG, or WebP?
Use JPEG or WebP for photos, PNG or WebP for graphics with sharp edges or transparency. WebP usually beats both on size. We compare them in detail in the PNG vs JPG vs WebP guide.
Is it safe to compress images online?
For ordinary images, yes. For private photos, prefer a tool that runs in your browser (like Squoosh) or a desktop app, so the images aren't uploaded to a server.
Related guides
 Image
Image How to Convert HEIC to JPG (iPhone Photos to a Universal Format)
Why iPhone photos arrive as HEIC, how to convert them to JPG on iPhone, Mac, and Windows, and how to make your phone shoot JPG from the start.
 Image
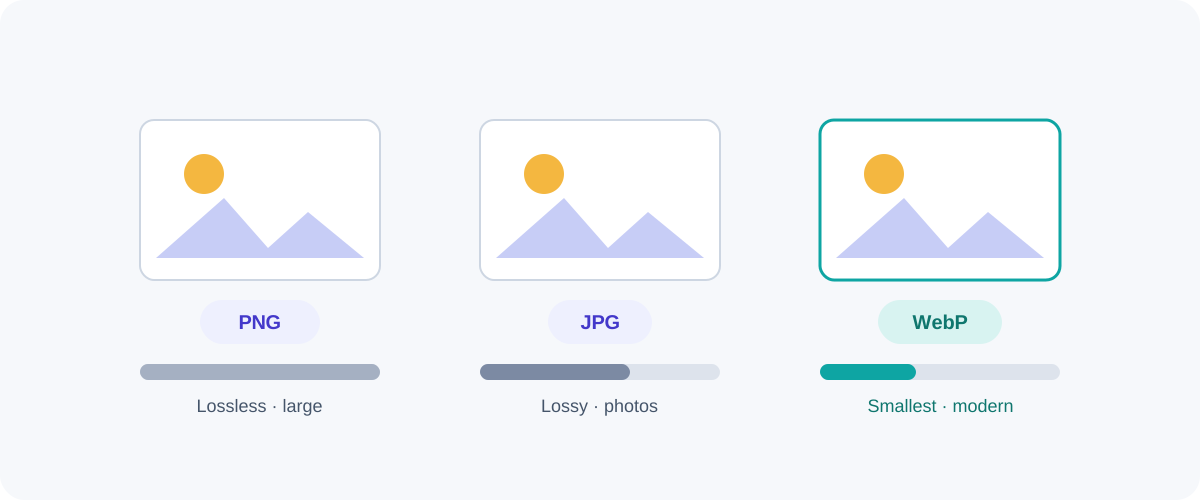
Image PNG vs JPG vs WebP: Which Image Format Should You Use?
A plain-English comparison of the three formats you meet every day — what each is good at, where each falls down, and a simple rule for always picking the right one.
 Image
Image How to Reduce Image Size to Speed Up Your Website
Images are the biggest reason web pages feel slow. Here's a practical checklist — right dimensions, modern formats, compression, lazy-loading, and no layout shift — to make yours fast.