How to Resize Images for Web and Social Media
How to change an image's dimensions the right way — keeping the aspect ratio, avoiding blurry upscaling, and hitting the sizes social platforms actually want.

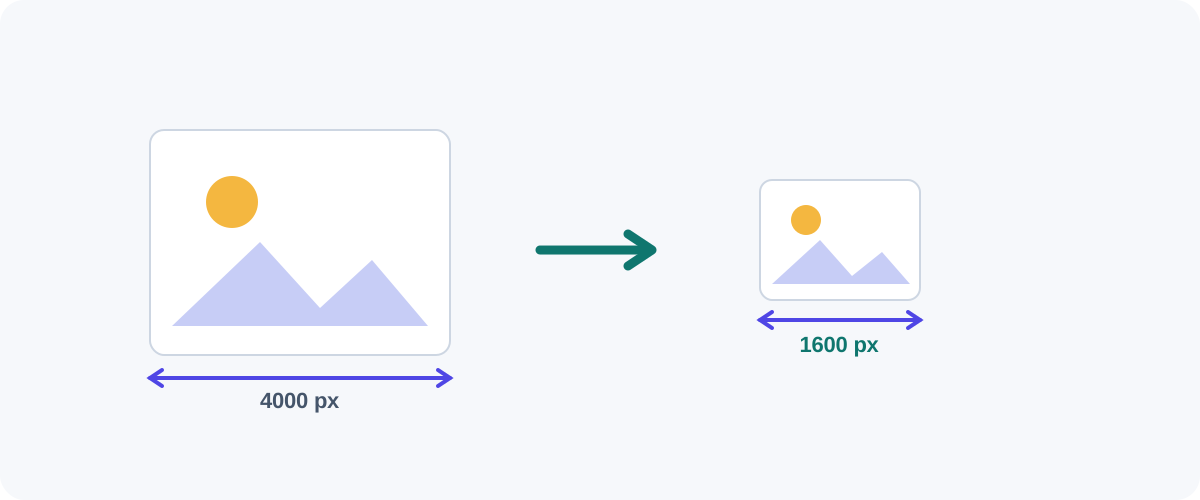
Resizing is the most underrated way to make an image smaller and more useful. A photo straight off a phone might be 4000 pixels wide — but a blog header shows maybe 1600, and an Instagram post 1080. Those extra pixels are pure dead weight. Here’s how to resize properly on any device, without the two classic mistakes: distortion and blurry upscaling.
Two rules that prevent every common mistake
Lock the ratio, never upscale
- Keep the aspect ratio locked so the image doesn’t stretch. Change width and height together.
- Scale down, not up. Start from the biggest original you have. Enlarging a small image just adds blur.
Method 1: On a Mac (Preview)
- Open the image in Preview.
- Tools → Adjust Size…
- Enter a new width (height follows automatically if “Scale proportionally” is ticked).
- File → Export to save, choosing the format and quality you want.
For a whole folder, select all the images, open them together, and Preview can adjust them in one go.
Method 2: On Windows
- Photos app: open an image → ⋯ → Resize → pick a preset or custom dimensions.
- Paint: open → Resize → switch to Pixels, keep Maintain aspect ratio checked, enter the new width, save.
Both are built in and fine for one-off resizes.
Method 3: In the browser (Squoosh)
Squoosh resizes and compresses locally — nothing uploads. Drop the image in, enable Resize in the options, set the target width, then tune the quality with the live preview. It’s my favorite for “make this exactly 1600px wide and as small as possible.”
Method 4: Command line (batch jobs)
# macOS, built in: resize to 1600px wide
sips --resampleWidth 1600 photo.jpg --out photo-1600.jpg

# ImageMagick: resize keeping ratio, only if larger
magick input.jpg -resize 1600x1600\> output.jpg
The \> in ImageMagick means “only shrink, never enlarge” — a handy safeguard for batch folders of mixed sizes.
Sizes worth knowing
Dimensions change over time, but these are reliable starting points:
| Use | Common size (px) |
|---|---|
| Website hero / header | 1600–1920 wide |
| In-article image | 1200 wide |
| Instagram square post | 1080 × 1080 |
| Instagram story / Reel | 1080 × 1920 |
| Facebook / LinkedIn share | 1200 × 630 |
| YouTube thumbnail | 1280 × 720 |
When in doubt for the web, 1600px wide is a sensible maximum for most images; the browser scales it down to fit smaller screens.
Resize, then compress
Resizing and compression are a team. Resize to the dimensions you’ll actually display first — that’s the big saving — then compress to trim the rest. A 5 MB, 4000px photo can become a crisp 200 KB, 1600px image with no visible loss.
Keep your originals
Resizing down is one-way: you can’t get the detail back later. Always keep the full-resolution original somewhere and resize copies for web and social.
If your goal is specifically a faster website, take it one step further with reduce image size to speed up your site.
Frequently asked questions
What's the difference between resizing and compressing?
Resizing changes the pixel dimensions (e.g. from 4000×3000 down to 1600×1200). Compressing keeps the dimensions but re-encodes the file to take fewer bytes. Resizing usually saves the most space because you're literally storing fewer pixels — and the two work best together.
How do I resize without distorting the image?
Keep the aspect ratio locked so width and height change together. Every good tool has a "lock aspect ratio" or "constrain proportions" option — leave it on. If you need an exact shape that doesn't match the original, crop first, then resize.
Can I make a small image bigger without it going blurry?
Not really. Enlarging invents pixels that were never captured, so detail looks soft. Mild upscaling can be acceptable, and AI upscalers help, but the reliable rule is to start from the largest original you have and scale down, not up.
Does resizing reduce quality?
Scaling down is essentially lossless to the eye — you're removing pixels you weren't using. Scaling up reduces apparent sharpness. So downsizing for web or social is safe; upsizing is where quality suffers.
Related guides
 Image
Image How to Compress Images Without Losing Quality
The real reasons image files get big, the difference between lossy and lossless, and the best free ways to shrink JPGs and PNGs on Mac, Windows, and in your browser.
 Image
Image How to Convert HEIC to JPG (iPhone Photos to a Universal Format)
Why iPhone photos arrive as HEIC, how to convert them to JPG on iPhone, Mac, and Windows, and how to make your phone shoot JPG from the start.
 Image
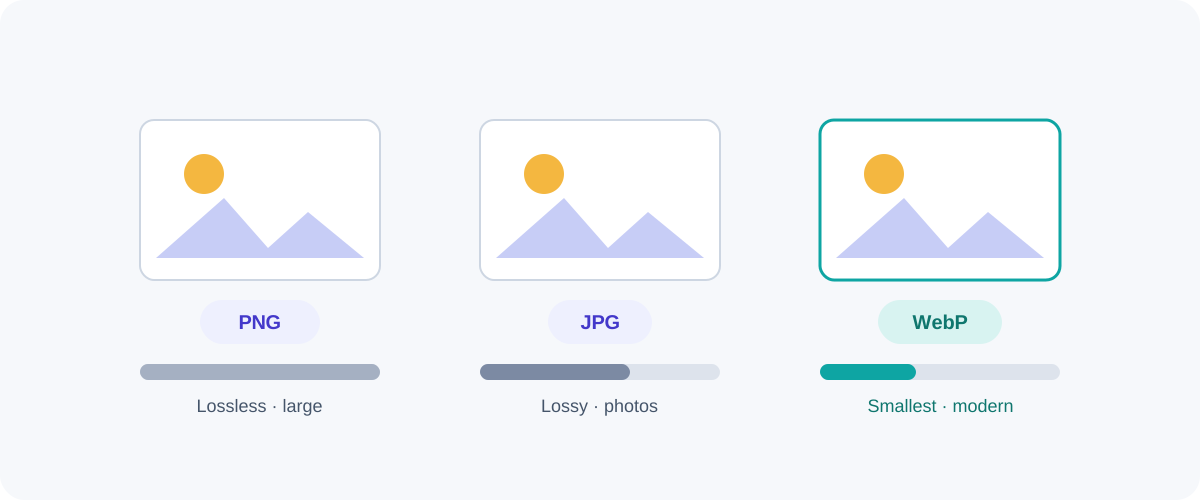
Image PNG vs JPG vs WebP: Which Image Format Should You Use?
A plain-English comparison of the three formats you meet every day — what each is good at, where each falls down, and a simple rule for always picking the right one.